This blog post follows my previous post “Getting started with SonarQube on a C# project”.
In my first attempt of integrating TeamCity and SonarQube I tried to use TeamCity SonarQube plugin, but it seems to be abandoned as the specific documentation for the runner this plugin relies on doesn’t seem to exist anymore runner documentation.
That’s why this post will just use the command-line tools available, with the added bonus advantage of easier portability over different types of build servers.
You can check out the source code analyzed at github.
Table of contents
- Step 1: Installing the tools
- Step 2: Setting up a build configuration for SonarQube analysis
Step 1: Installing the tools
We’re going to install some dependencies on the build agent.
First off, install chocolatey.
After that, install SonarQube runner.1
choco install -y microsoft-build-tools msbuild-sonarqube-runner
Step 2: Setting up a build configuration
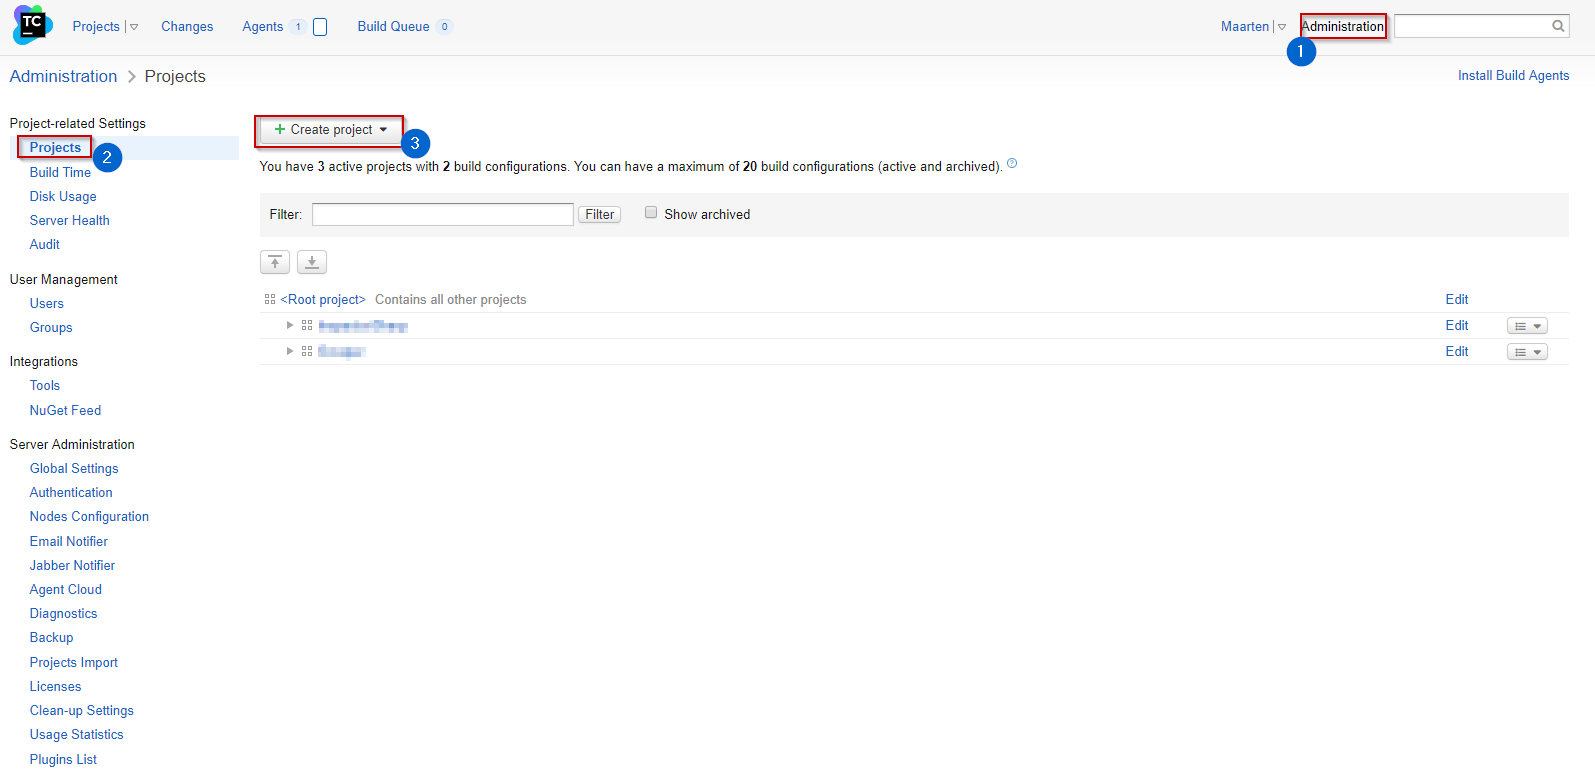
Since this is a new project in TeamCity, I’ll start with creating a project.

After clicking through the wizard, TeamCity discovered one build step for my project.
I’d like to start with a clean slate and click on configure build steps manually.

We’re going to create 4 build steps.
- Step 1:
Runner type: “NuGet Installer”
This step will restore the NuGet packages required for building the solution. Step 2:
Runner type: “Command Line”1
2
3SonarQube.Scanner.MSBuild.exe begin /k:"%sonar.project%"
/d:"sonar.host.url=%sonar.host.url%" /d:"sonar.login=%sonar.login%"
/d:"sonar.organization=%sonar.organization%" /v:"%build.number%"This step is used to hook in the SonarQube runner into the msbuild process.
You’ll notice the parameters enclosed with %’s. More on that later.- Step 3:
Runner type: “MSBuild”
This step will build the solution. - Step 4:
Runner type: “Command line”1
SonarQube.Scanner.MSBuild.exe end /d:"sonar.login=%sonar.login%"
This step will submit the analysis to SonarQube.
After defining these steps we’ll also need to define the parameters used in the commands.
Using these allows us to only need to change their value in one place. If you want, you could set this parameters globally at your root project, or for all your builds on this specific project.
Step 3: Test the configuration
There we go, now you can press the run build button to see if it works! :-)
If all went well you should now have a basic working build configuration.
Now you can start tweaking the configuration to fit your needs. Good luck!