Table of contents
- Introduction
- OWASP Top 10
- OWASP Zed Attack Proxy
- Setting up ZAP
- Setting up the attack context
- Executing your first attack
- Conclusion
Introduction
In this blogpost I’ll attempt to explain how to get started with Zed Attack Proxy (ZAP) and how to set up your first attack. It speaks for itself that you ONLY attack applications you own or have explicit permission to attack.
The source code used for this blog post can be found on github.
OWASP Top 10
OWASP (Open web application security project) is an organization trying improve awareness about web application security issues.
Every few years they create a top 10 of web application security risks. They categorize the risks based on how common the issues are and the impact when the risk is exploited. You can find out more about them on their website.
The OWASP Zed attack proxy project
OWASP Zed Attack Proxy is an open source security tool maintained by OWASP. It can be used to find security issues in your web application. It acts as a reverse proxy server so it can sit in the middle and observe / modify your browser traffic. You can do an automated scan where the spider tool crawls through your application while executing attacks or manually execute specific targetted attacks. You can use the Fuzzer tool to modify a specific part of your request with random data or words from word lists to try find vulnerabilies. Zap can be extended with plugins. Which can be installed from the ‘marketplace’ in the application. Beware though, since some of them are used to try testing exploiting vulnerablities using malicious files, your antivirus will probably go crazy.
To add some clearity to the input fuzzing concept:
QA Engineer walks into a bar. Orders a beer. Orders 0 beers. Orders 999999999 beers. Orders a lizard. Orders -1 beers. Orders a sfdeljknesv.
— Bill Sempf (@sempf) 23 september 2014
Setting up ZAP
To be able to get started with ZAP, we need to install the application from their site. Since ZAP acts as a reverse proxy, we need to setup our browser proxy settings to point to ZAP, so our requests get tunneled.
By default, the proxy port is set to ‘8080’. You can change this by clicking on ‘Tools’ > ‘Options’ > ‘Local proxy’, as shown in the image below.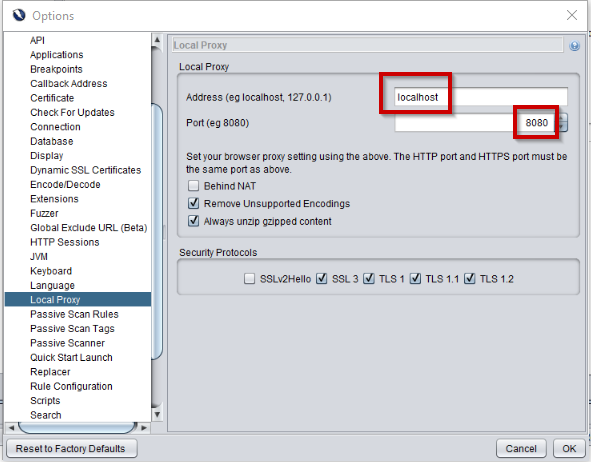
If you want to intercept HTTPS traffic, you’ll also need to generate & trust a new SSL certificate. This can also be done from the ‘Tools’ > ‘Options’ menu, but this time selecting the ‘Dynamic SSL Certificates’.

From here, you can save the certificate to a local file and install the certificate as trusted locally.
In your browser, make sure to set the proxy settings accordingly. You could install a tool like Foxy proxy (for chrome) or other tools to be able to easily enable / disable the proxy settings.
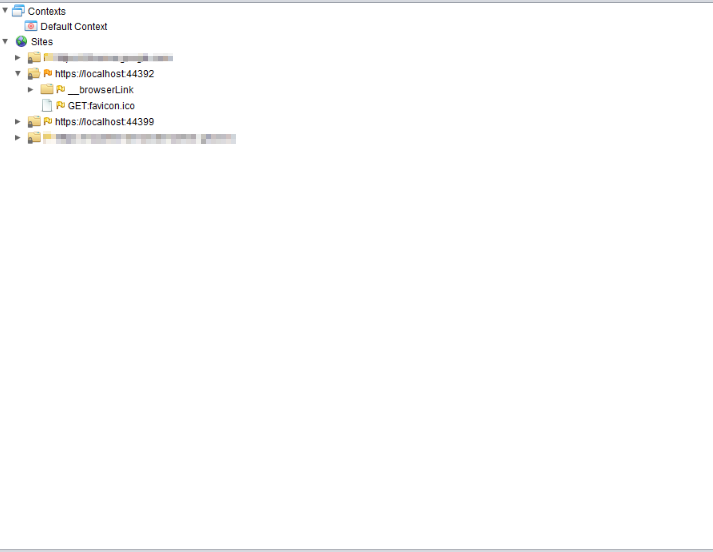
Once everything is setup correctly and you visit a site in your browser it will be added to the “Sites” tab in ZAP. You’ll notice any site you visit turns up here, so before we execute any real attacks, we’ll want to make sure our attack context is set up properly, so we don’t attack anything we do not have permission for.
Settings up the attack context
Before we start executing attacks, it is important to set up our context so that we don’t accidentually attack anything we shouldn’t.
While just browsing, you can right click on the site, select ‘include in context’ > ‘new context’.
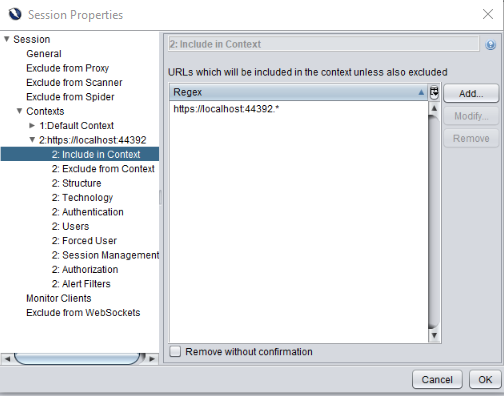
After we configured the sites we want to test, we’ll also delete / disable the default context by right clicking it and selecting delete or disable.
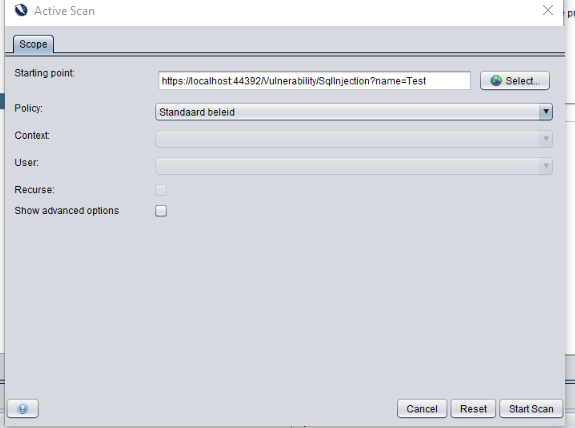
You can start a quick scan by entering your site’s url in the quick start menu.

Executing your first attack
For the demo purposes of my application I’ve created two vulnerabilities in my application. A SQL injection issue and an XSS flaw. You can take a look at the source here.
- The SQL injection.
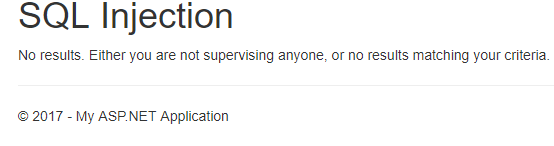
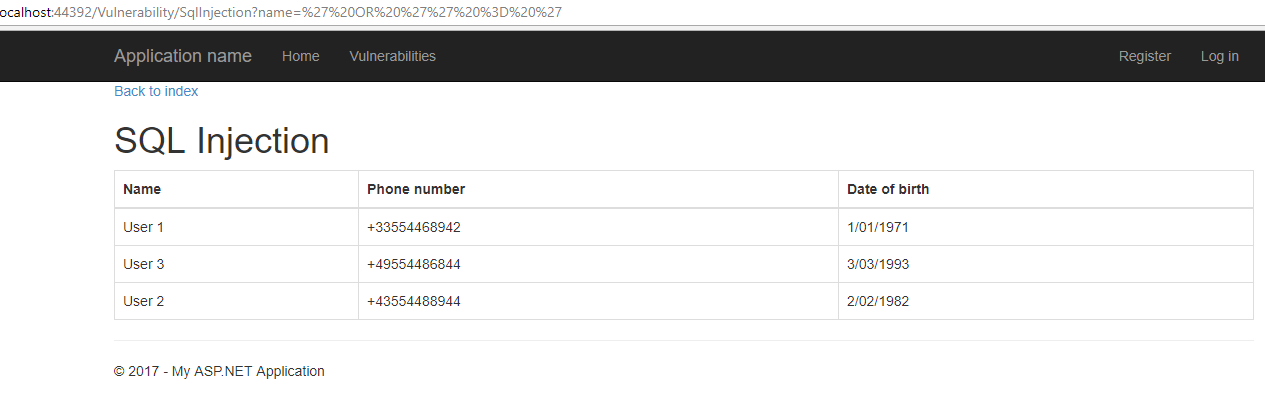
The SQL injection is quite straight forward. I have a table where I display all the ‘employees’ the current user is ‘supervisor’ for. You can also filter on a name. The url would be something like this ‘/Vulnerability/SqlInjection?name=Test’. When the user is not logged in, this shows something like this:
 .
.
In the code we can see the query is built using string concatenation.1
2
3
4
5
6var query = $"SELECT Id, Name, PhoneNumber, DateOfBirth FROM Employees WHERE SupervisorId='{userId}'";
if (name != null)
{
query += $" AND name = '{name}'";
}
Let’s see if ZAP can find any SQL injection issues here.
We’ll right click the url, click attack and start scan.

And, as we expect, ZAP has found an issue:

We can even get all data to show up with the right request. When getting /Vulnerability/SqlInjection?name=' OR '' = '
The application just shows all data.
- XSS
I have to admit I had to do a lot wrong to be able to create an XSS vulnerability in my ASP.NET MVC application.
First of all I needed to use @Html.Raw(Model) in my view, instead of a safe variant, but then still it would not work, I had to set [ValidateInput(false)]] on my controller. Even then my browser was fighting back (even without adding any CSP headers!).
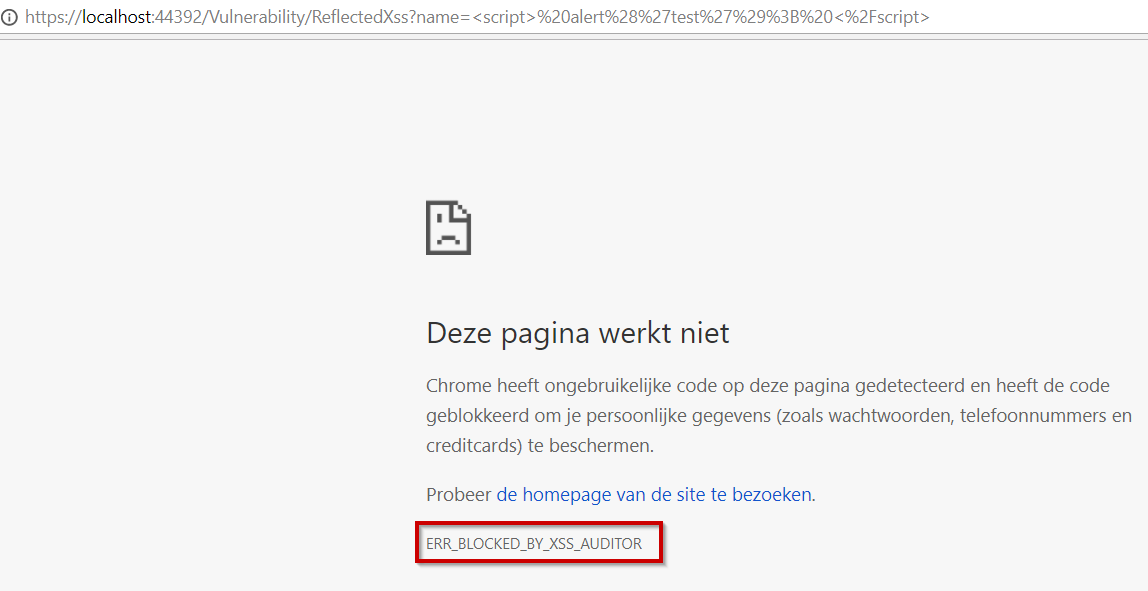
(I know the error message in chrome is in dutch, it basically says chrome has detected unexpected code on the page and has blocked it to protect user data).
Turns out I also had to add the X-XSS-Protection header with value ‘0’. To be able to avoid chrome’s interference.
Seems like our framework does a lot for us here already :).
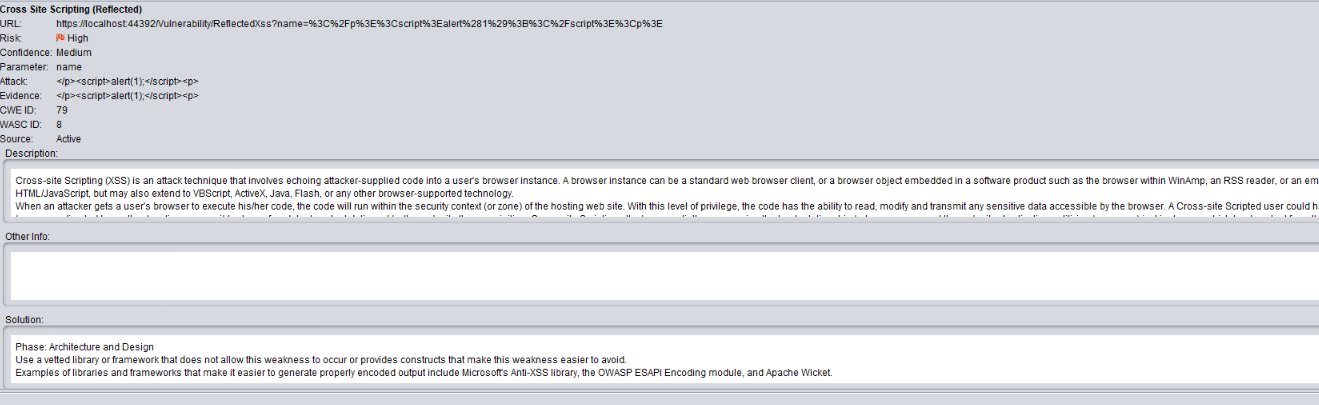
After these modifications ZAP found the Cross site scripting issue.
Conclusion
Zed attack proxy helps us developers to be able do quite a bit of testing on our applications to find security related issues. It is rather easy to get started with it, and can help us getting started in improving our web application security.